For games which have in-game purchases, you would want to know run in-game purchase tests in order to minimize risks when distributing throu STOVE Store. Below section explains how you can run in-game purchase tests.
0. Before Starting…
•
Only those who are the member of the project can test the build, so make sure the account which you are testing, is registered as a member of the project.
•
Make sure you have uploaded the build in STOVE Studio.
To find out how to upload a build in STOVE Studio, go to  Uploading Build (DRM Maker Settings).
•
Only those games which have STOVE SDK v2.6.6 or higher integrated can run in-game purchase test.
If you want to run in-game purchase tests, please make sure your applied SDK is v2.6.6 or higher.
You can download the SDK v.2.6.6 or higher here.
1. Find and Run Your Build
2. Activate In-Game Purchase
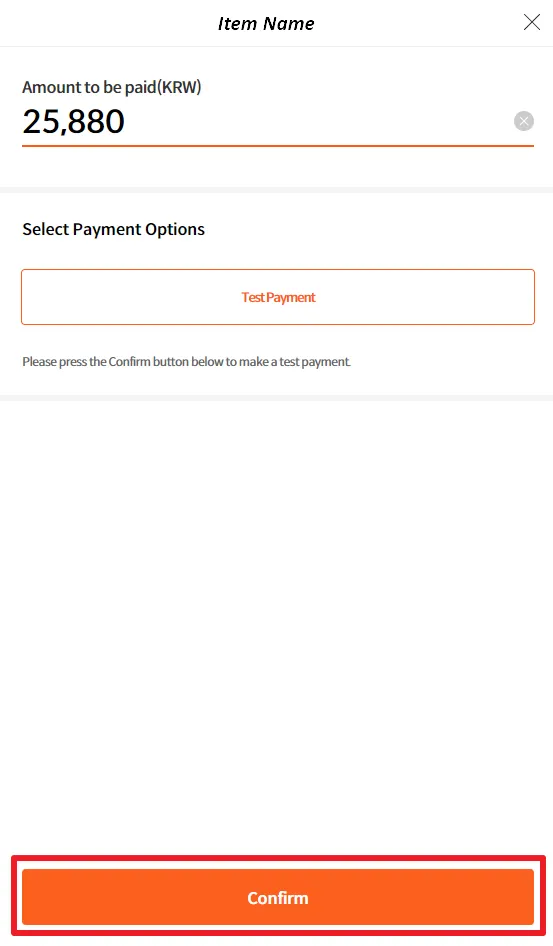
If you are running your build, try to activate in-game purchase. If there are no issues, a purchase pop-up will appear, which looks similar to below. If you run your test purchase by clicking, and the test purchase should be complete. After the test is complete, make sure the correct item(or currency) and its amount is given to the account.
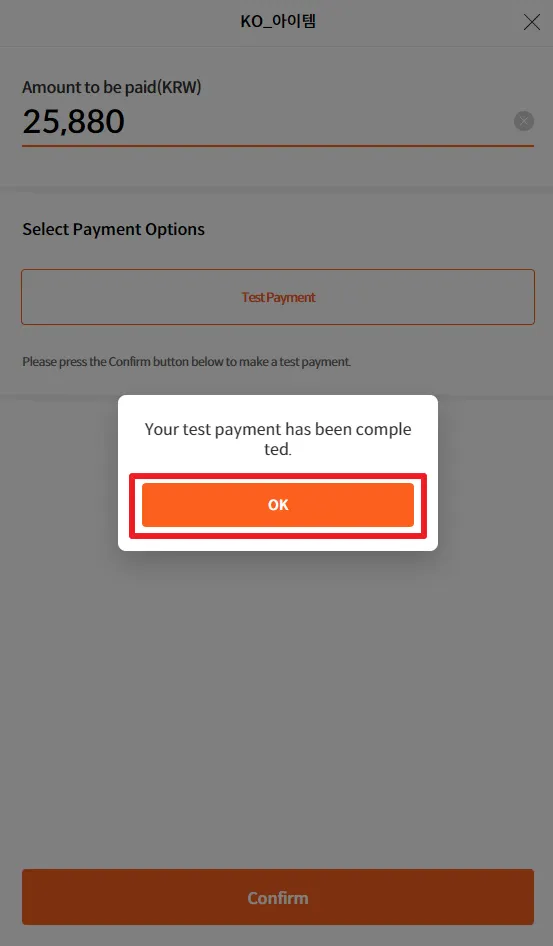
Make sure you have clicked OK here to complete.
For developers: For those who are using Payment Completion Notification, the notifcation is sent when pressing OK at this stage.
If you do not see such screen, or receive errors that means there is an issue with the billing integration or settings in studio. Try to find out any missing steps in  In-Game Purchases . Or send your error to STOVE Onboarding Manager.


