This section explains how you can launch your game as DEMO.
Of course, to release Demo, you need to have a BASIC game ready.
For guidelines on how to release BASIC, please go to  Game Launch - BASIC .
Note: Make sure you have registered you project first, before continuing.
Project Registration can be found at
  Project Registration .
1. Choose Your Type (DEMO)
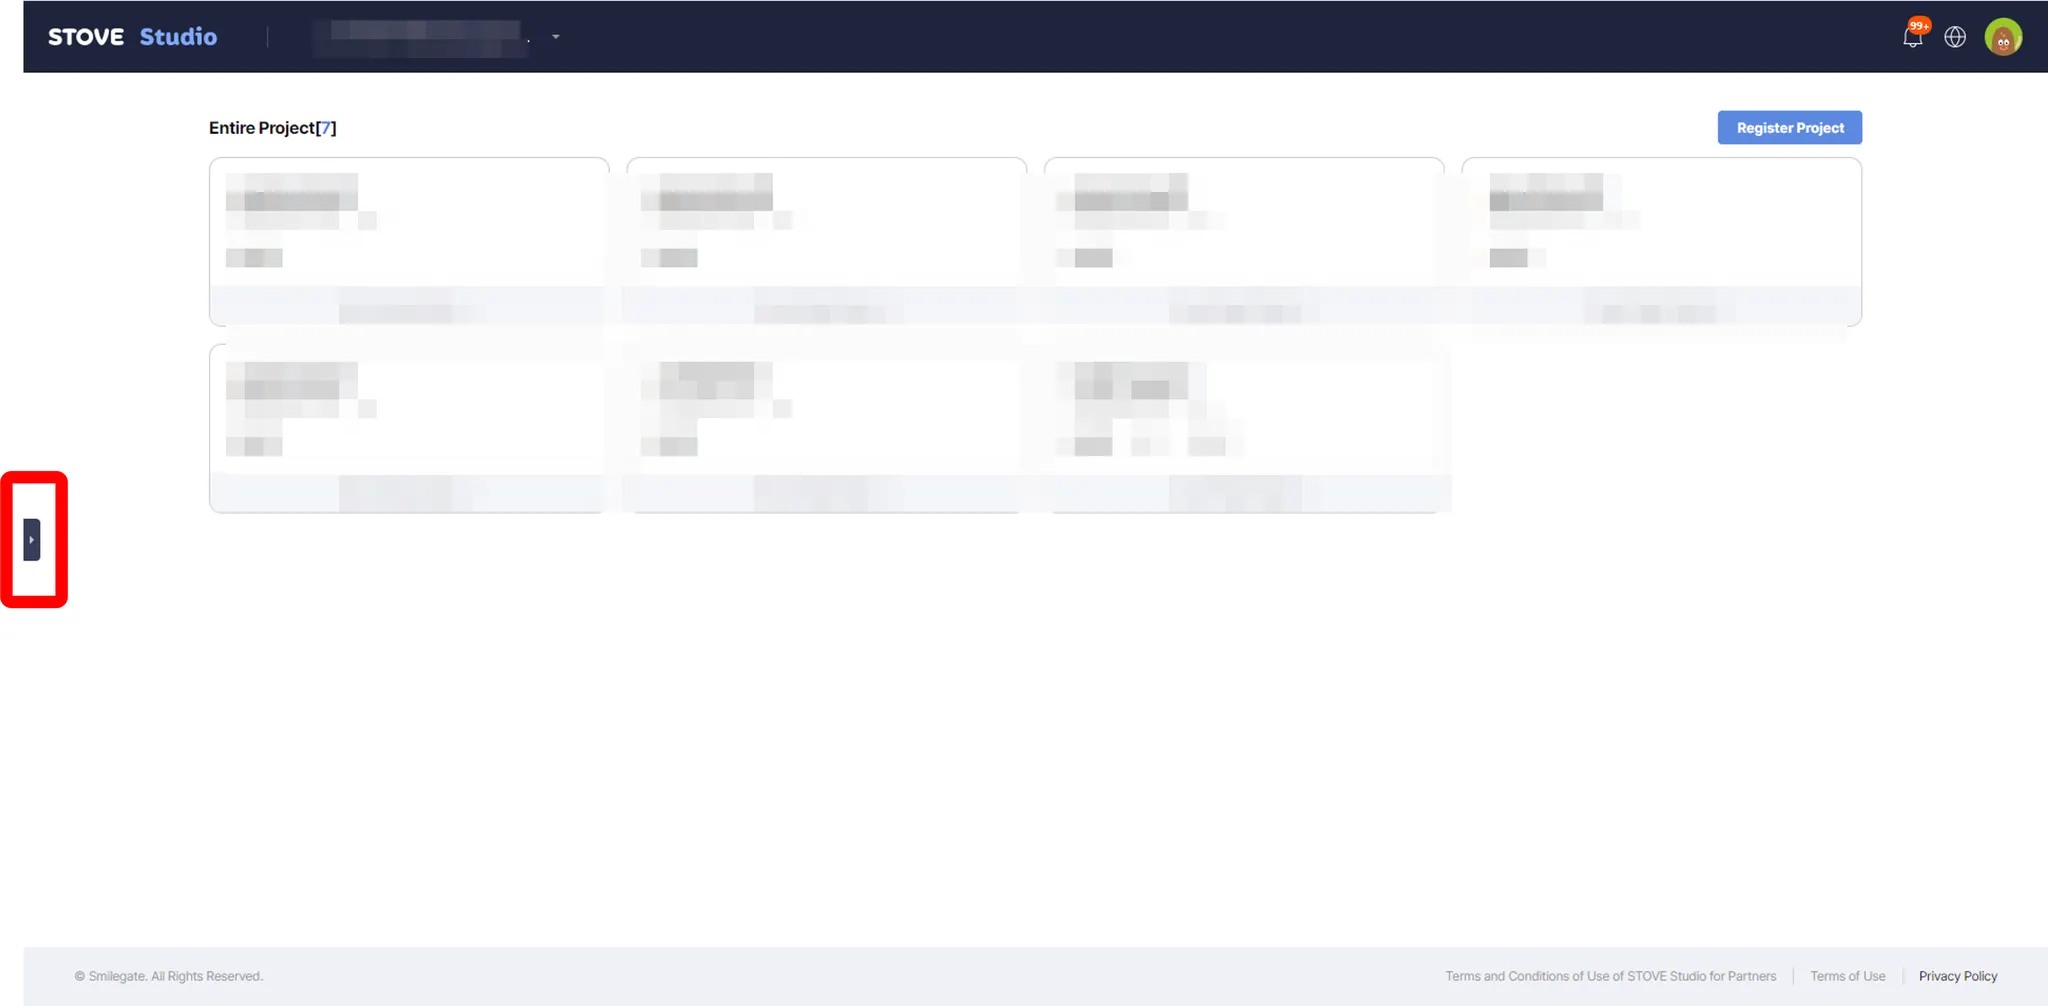
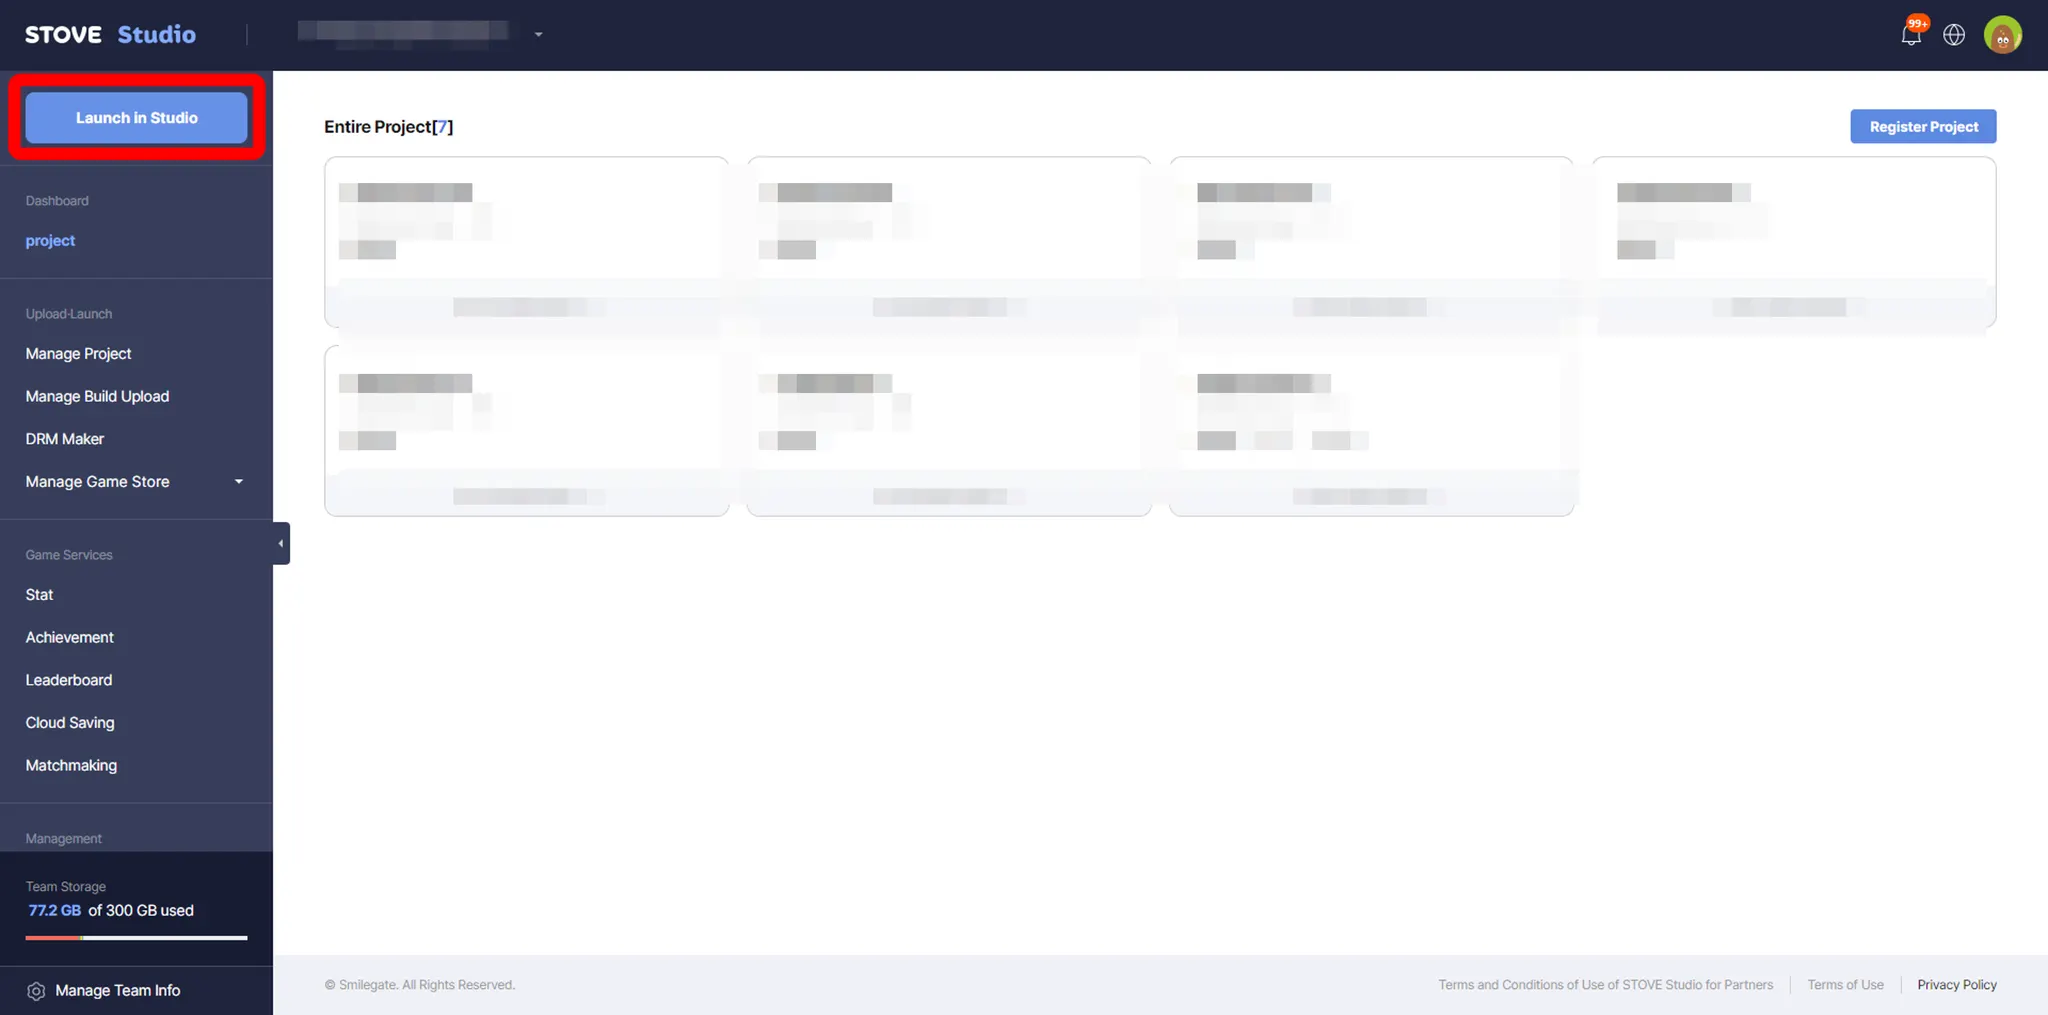
To launch your game, let’s start with clicking “Launch in Studio” on the top of the Navigation bar. (If you do not see it, please make sure that the navigation bar is open) See below for details.
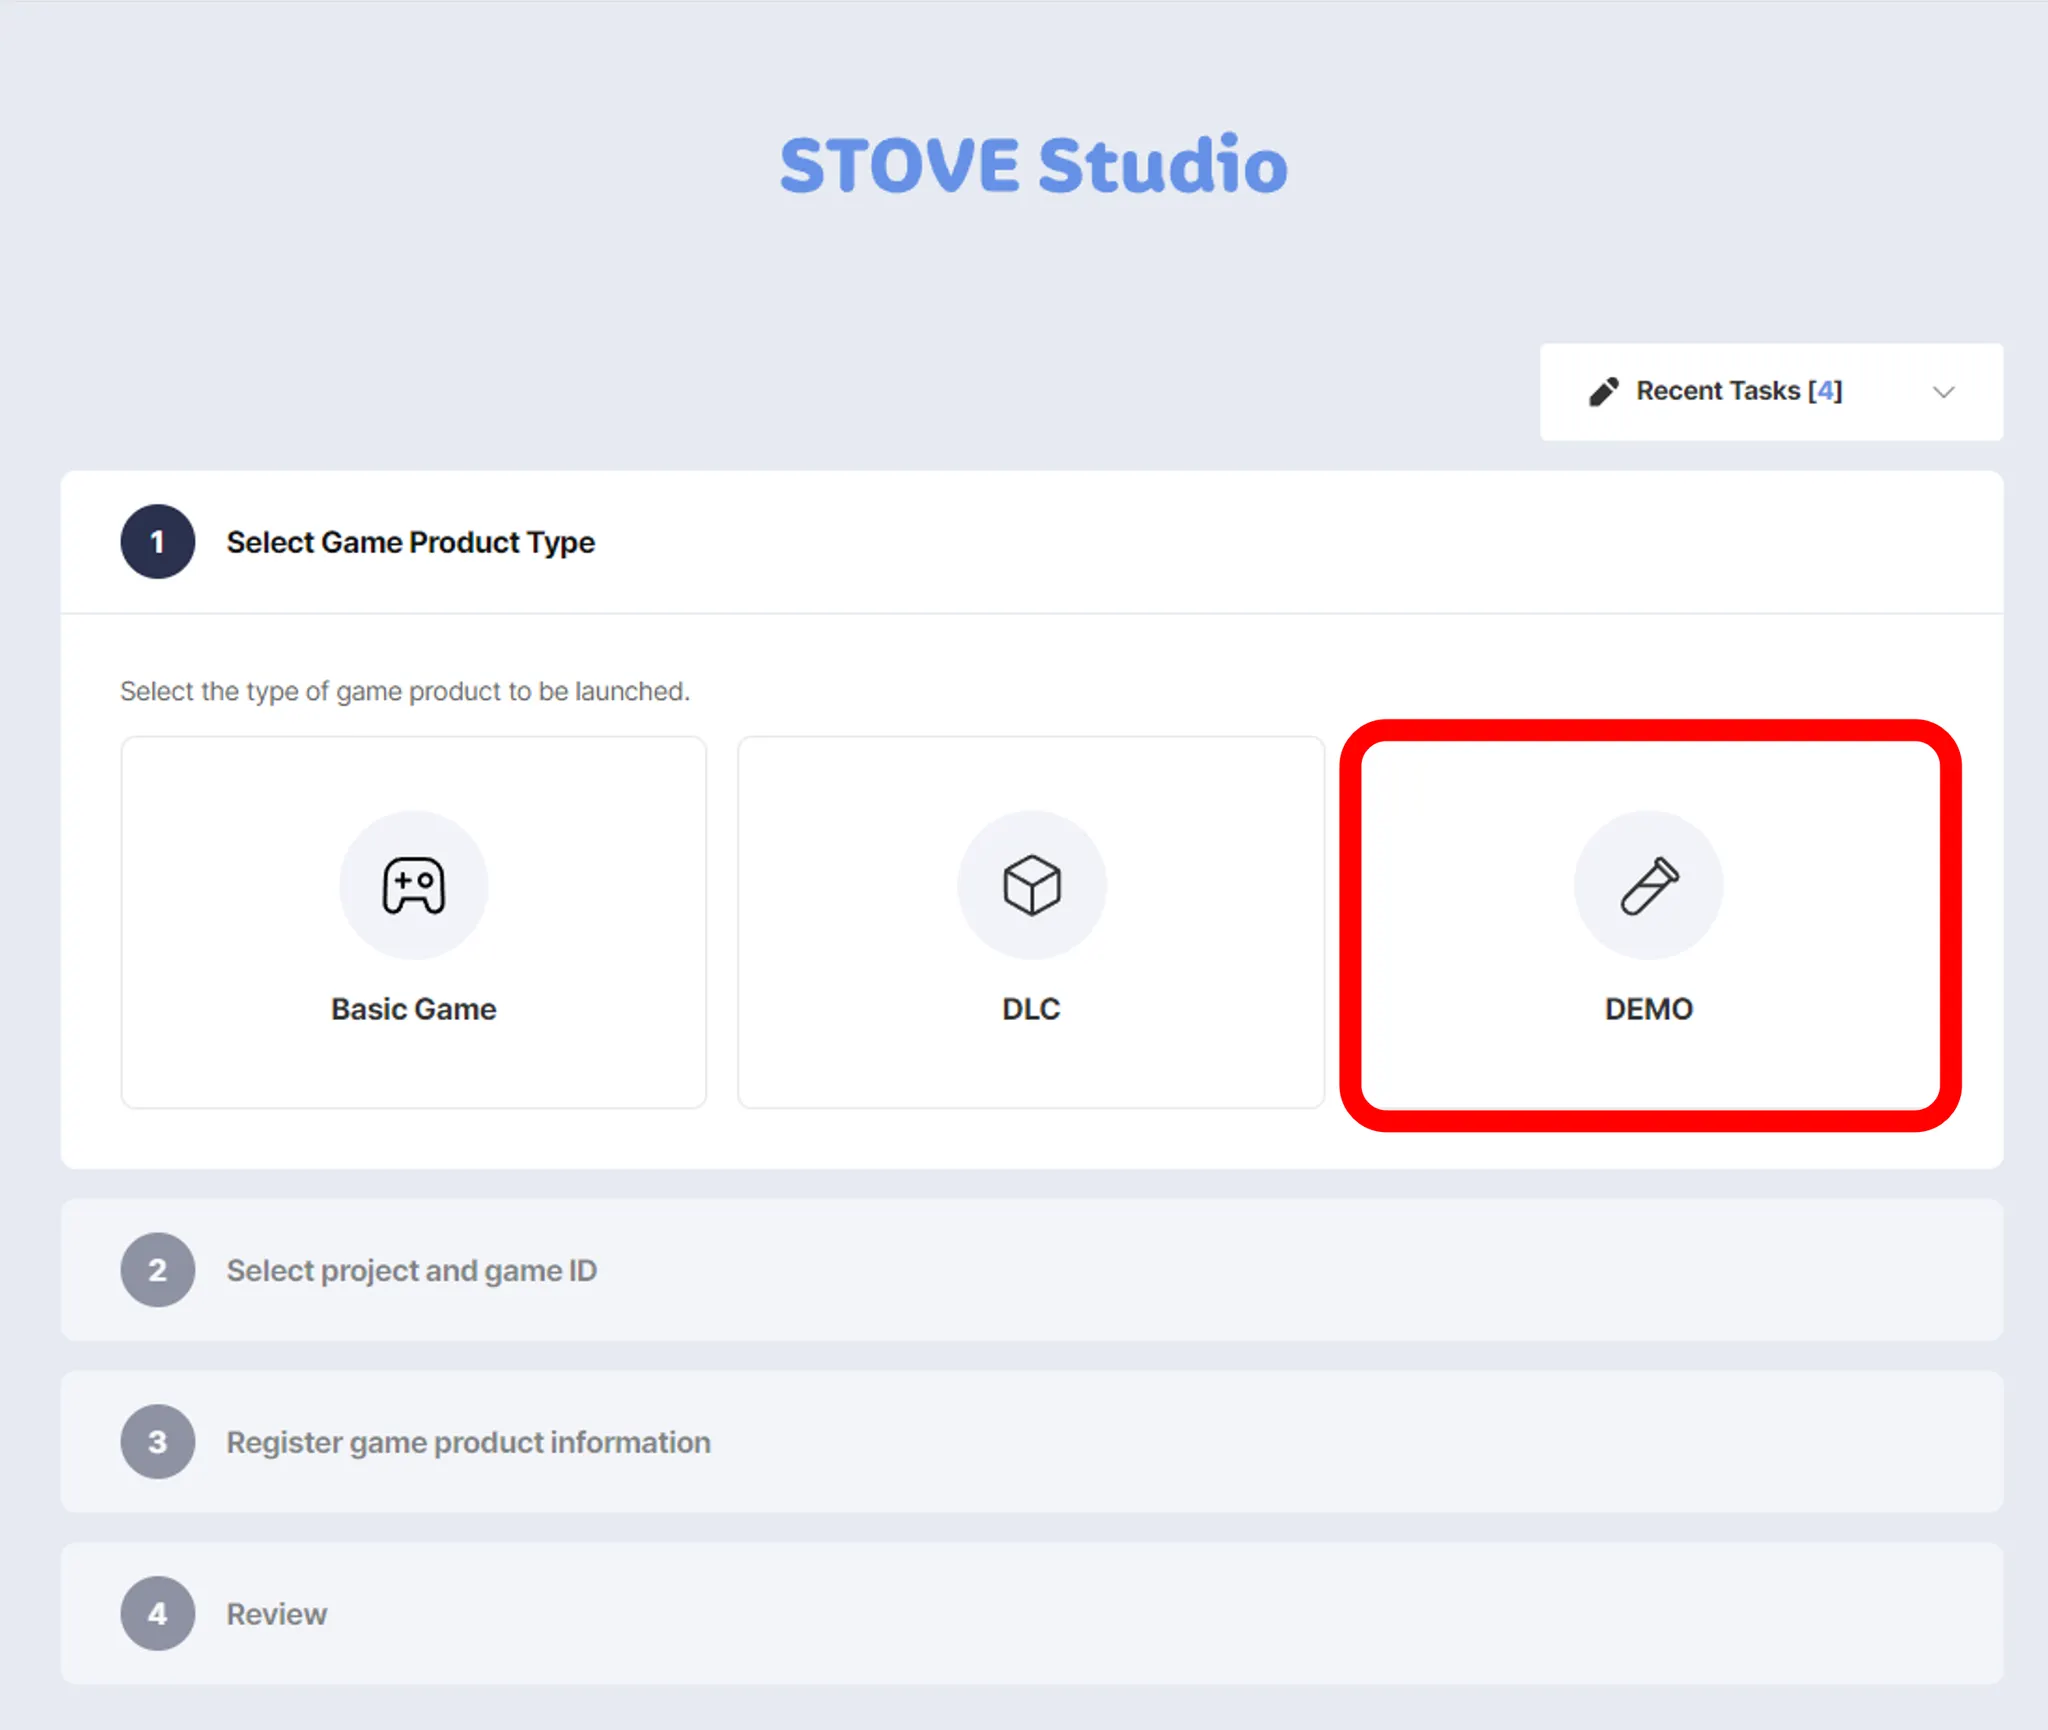
If you have clicked the right place(s), then the screen such as below should appear. From here, click DEMO.
2. Choose (or Register) Project
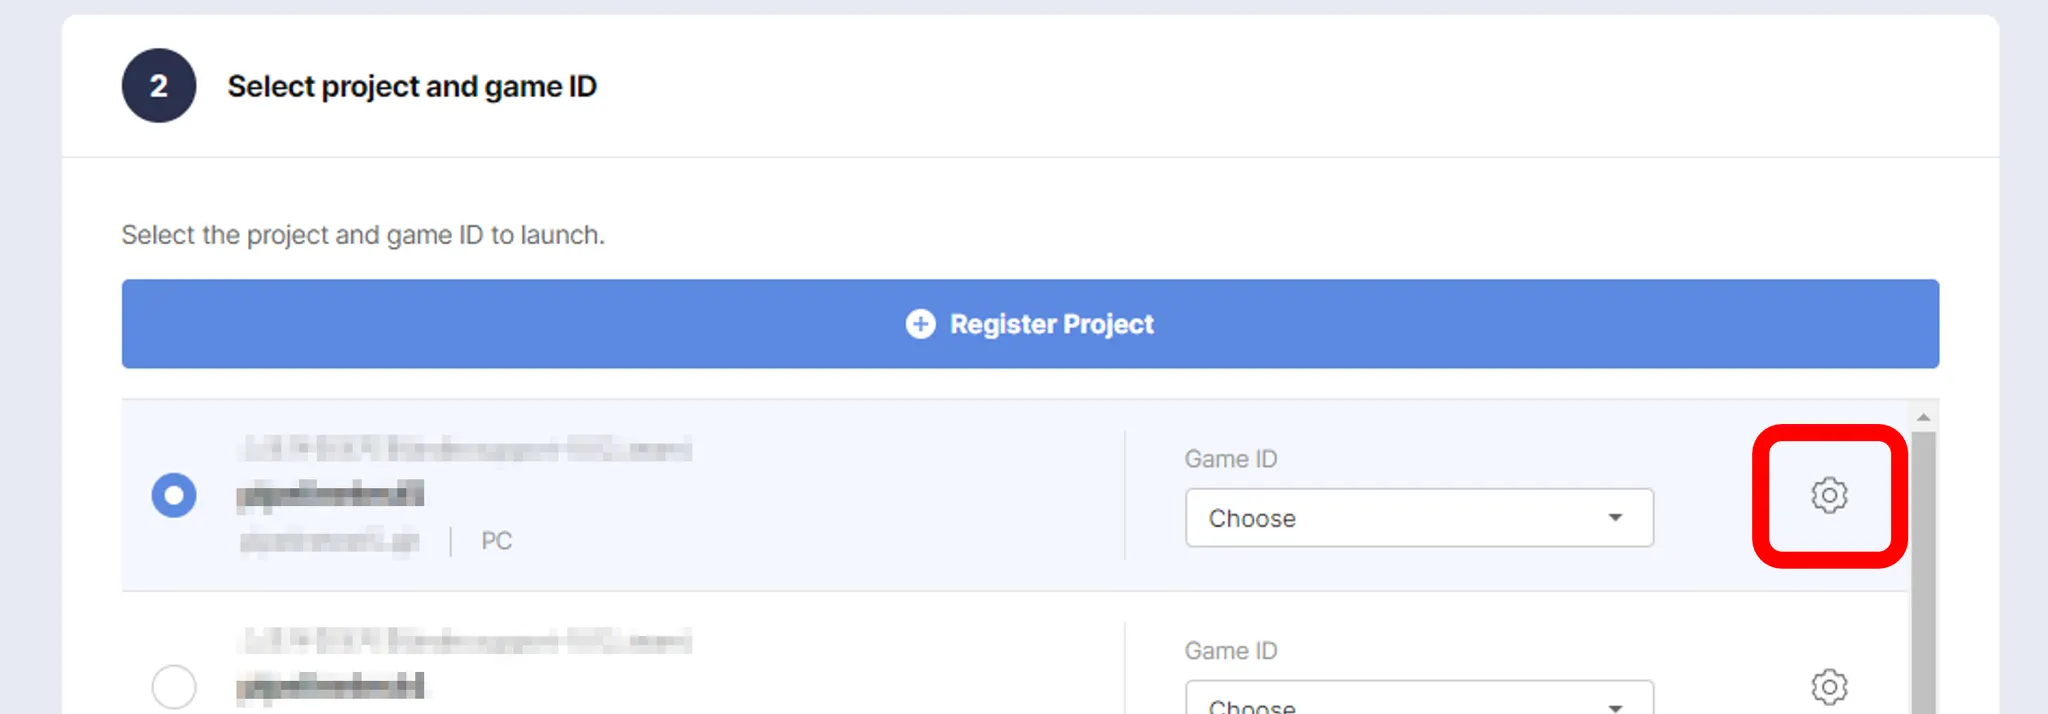
Click the cog button of the project, of which you want to create DEMO. (See below)
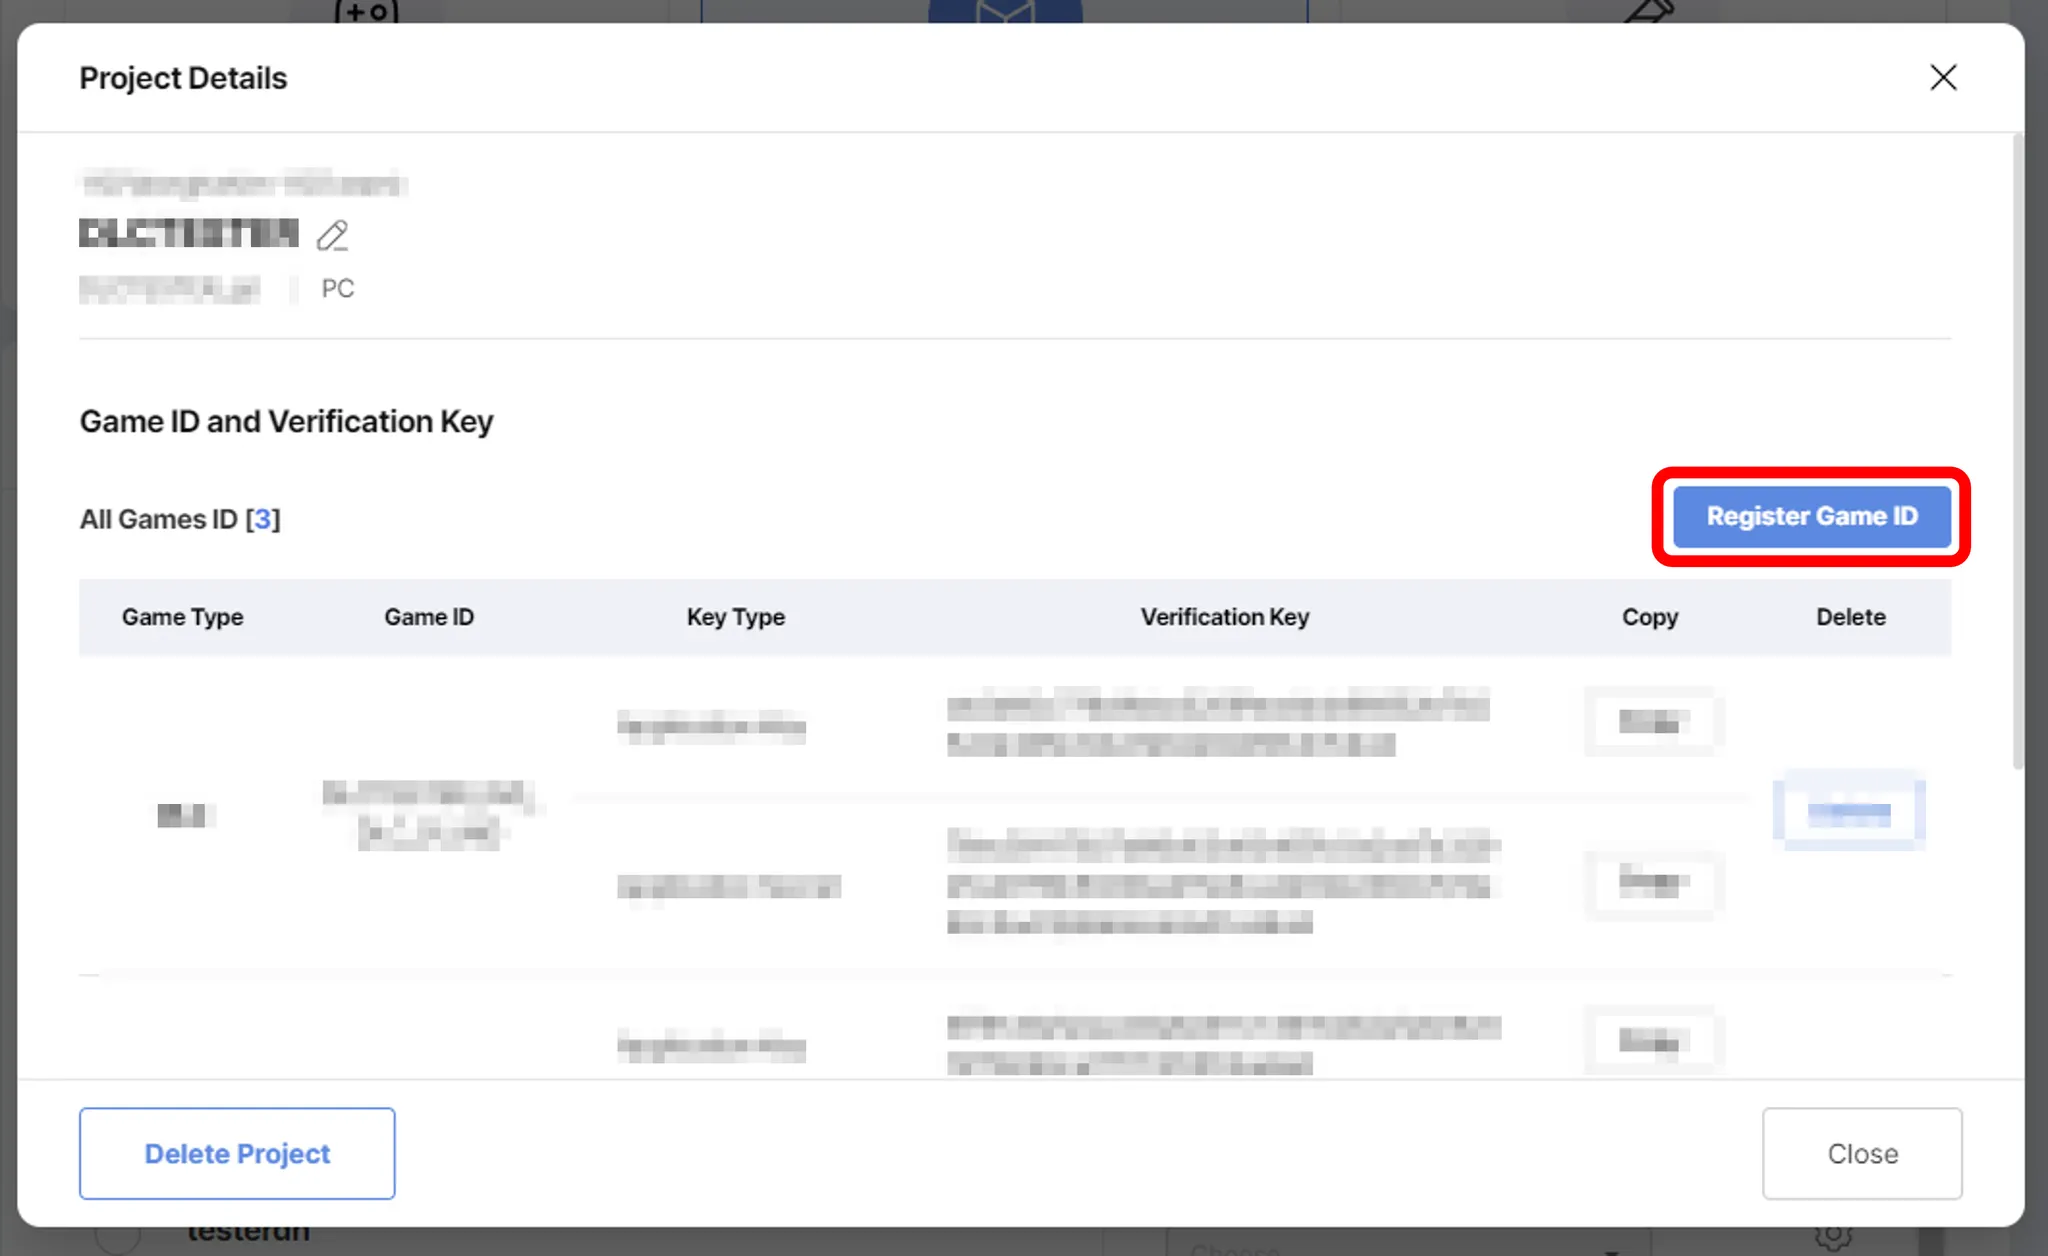
Then, click Register Game ID (see below)
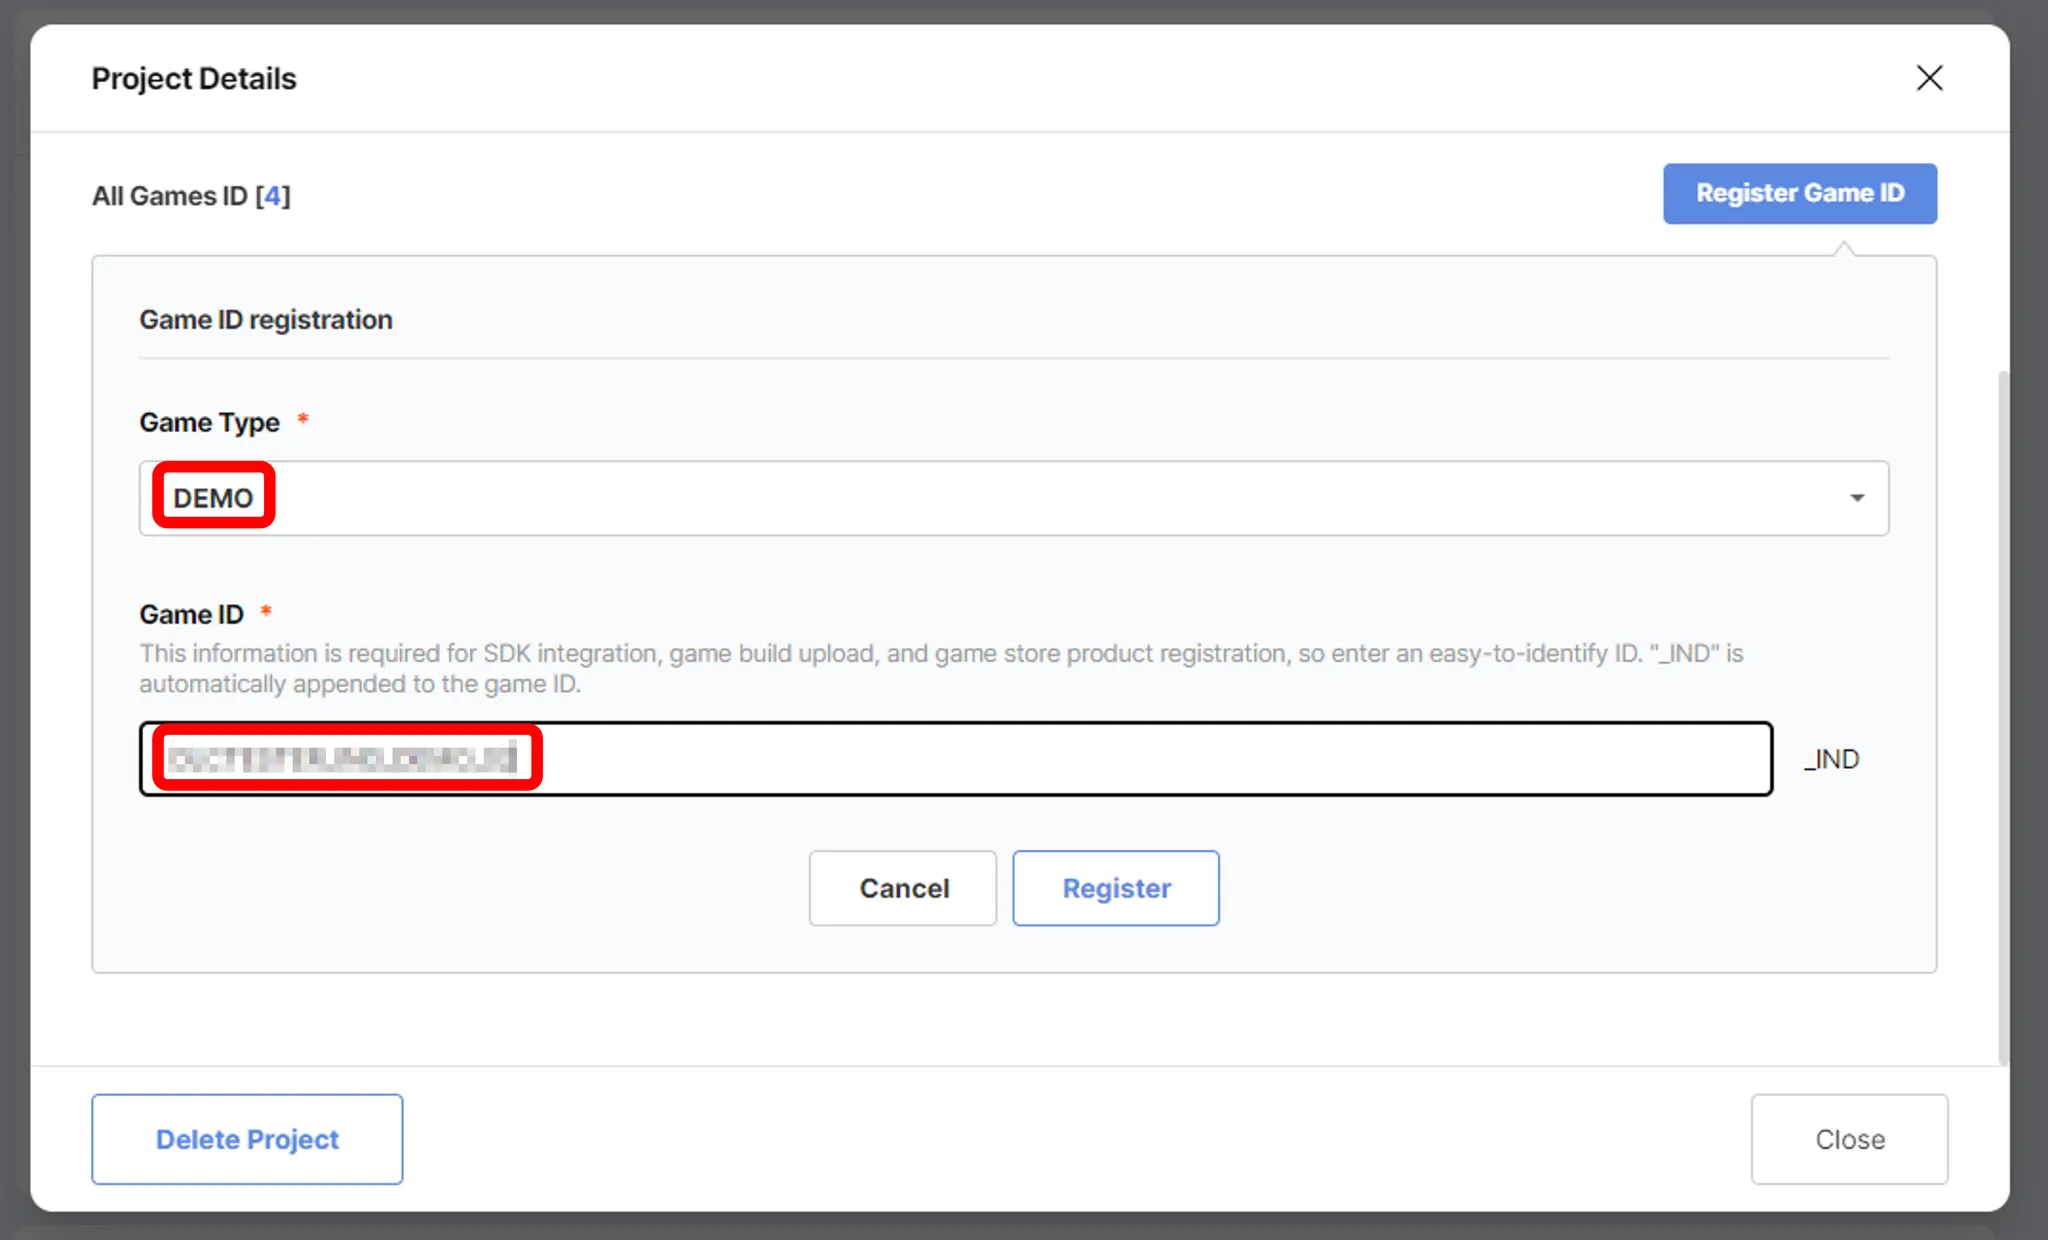
Select Game Type as DEMC, and enter Game ID (it is usually automatically generated, you can change at your preference). Then click Register (see below)
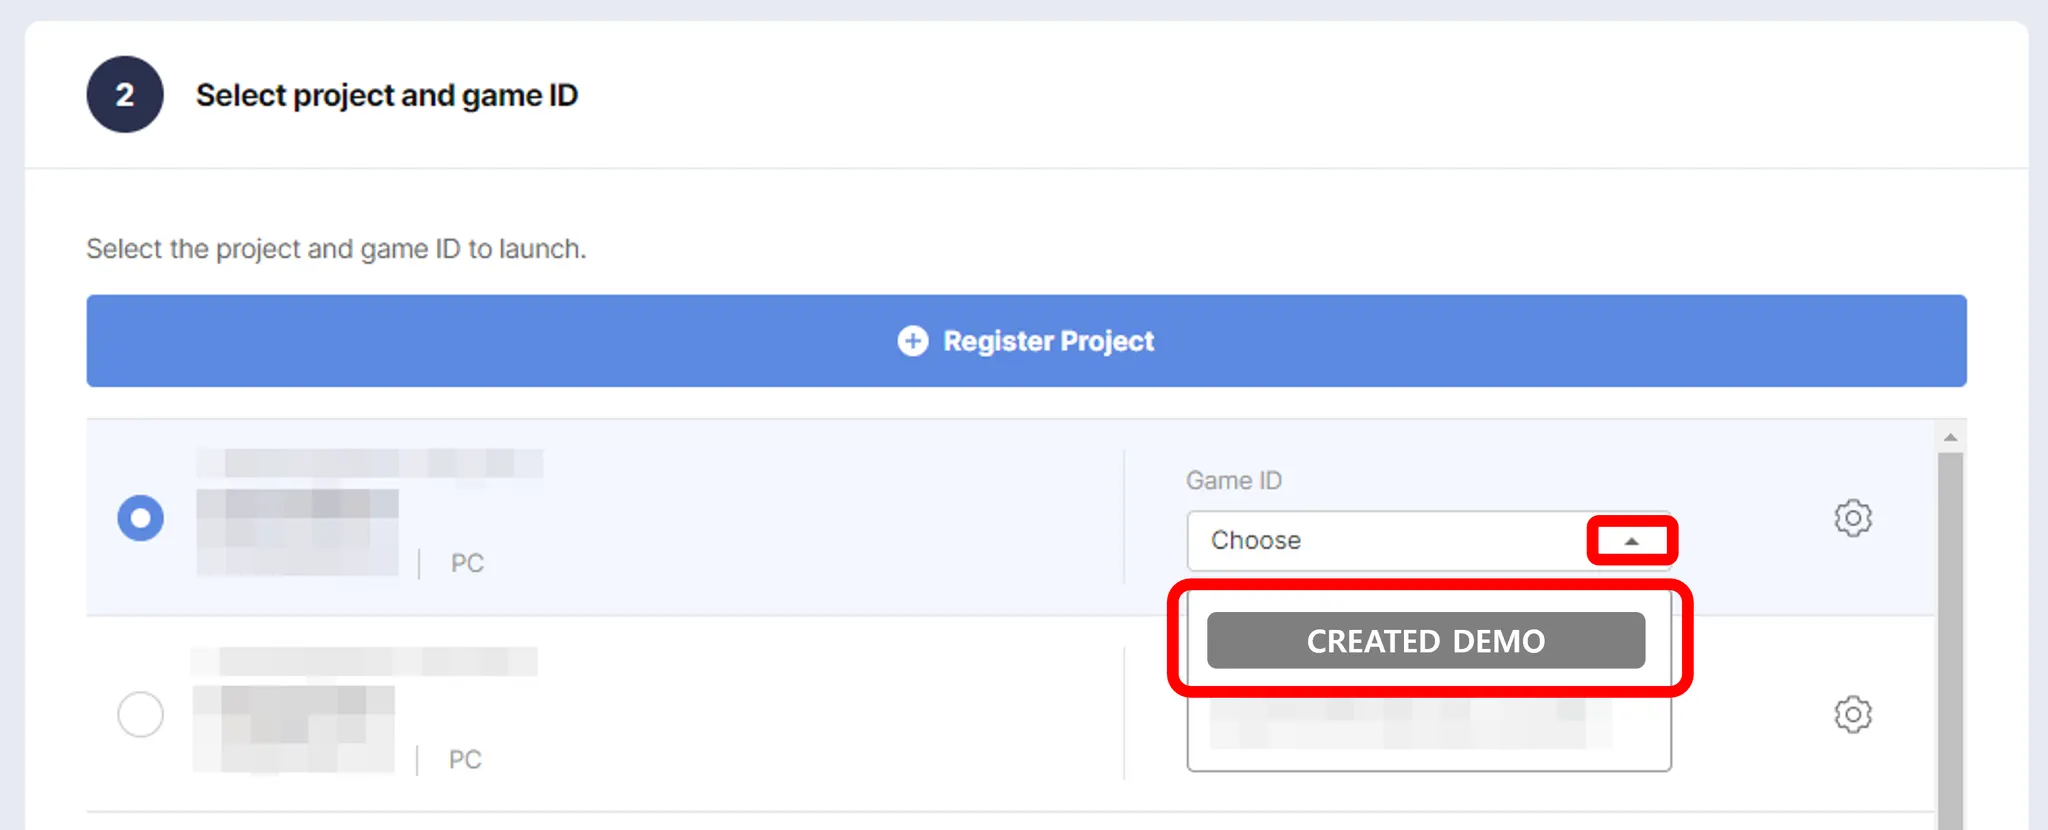
If done, return to where you select Project, then select the DEMO you have created. (see below)
3. Register Game Product Information
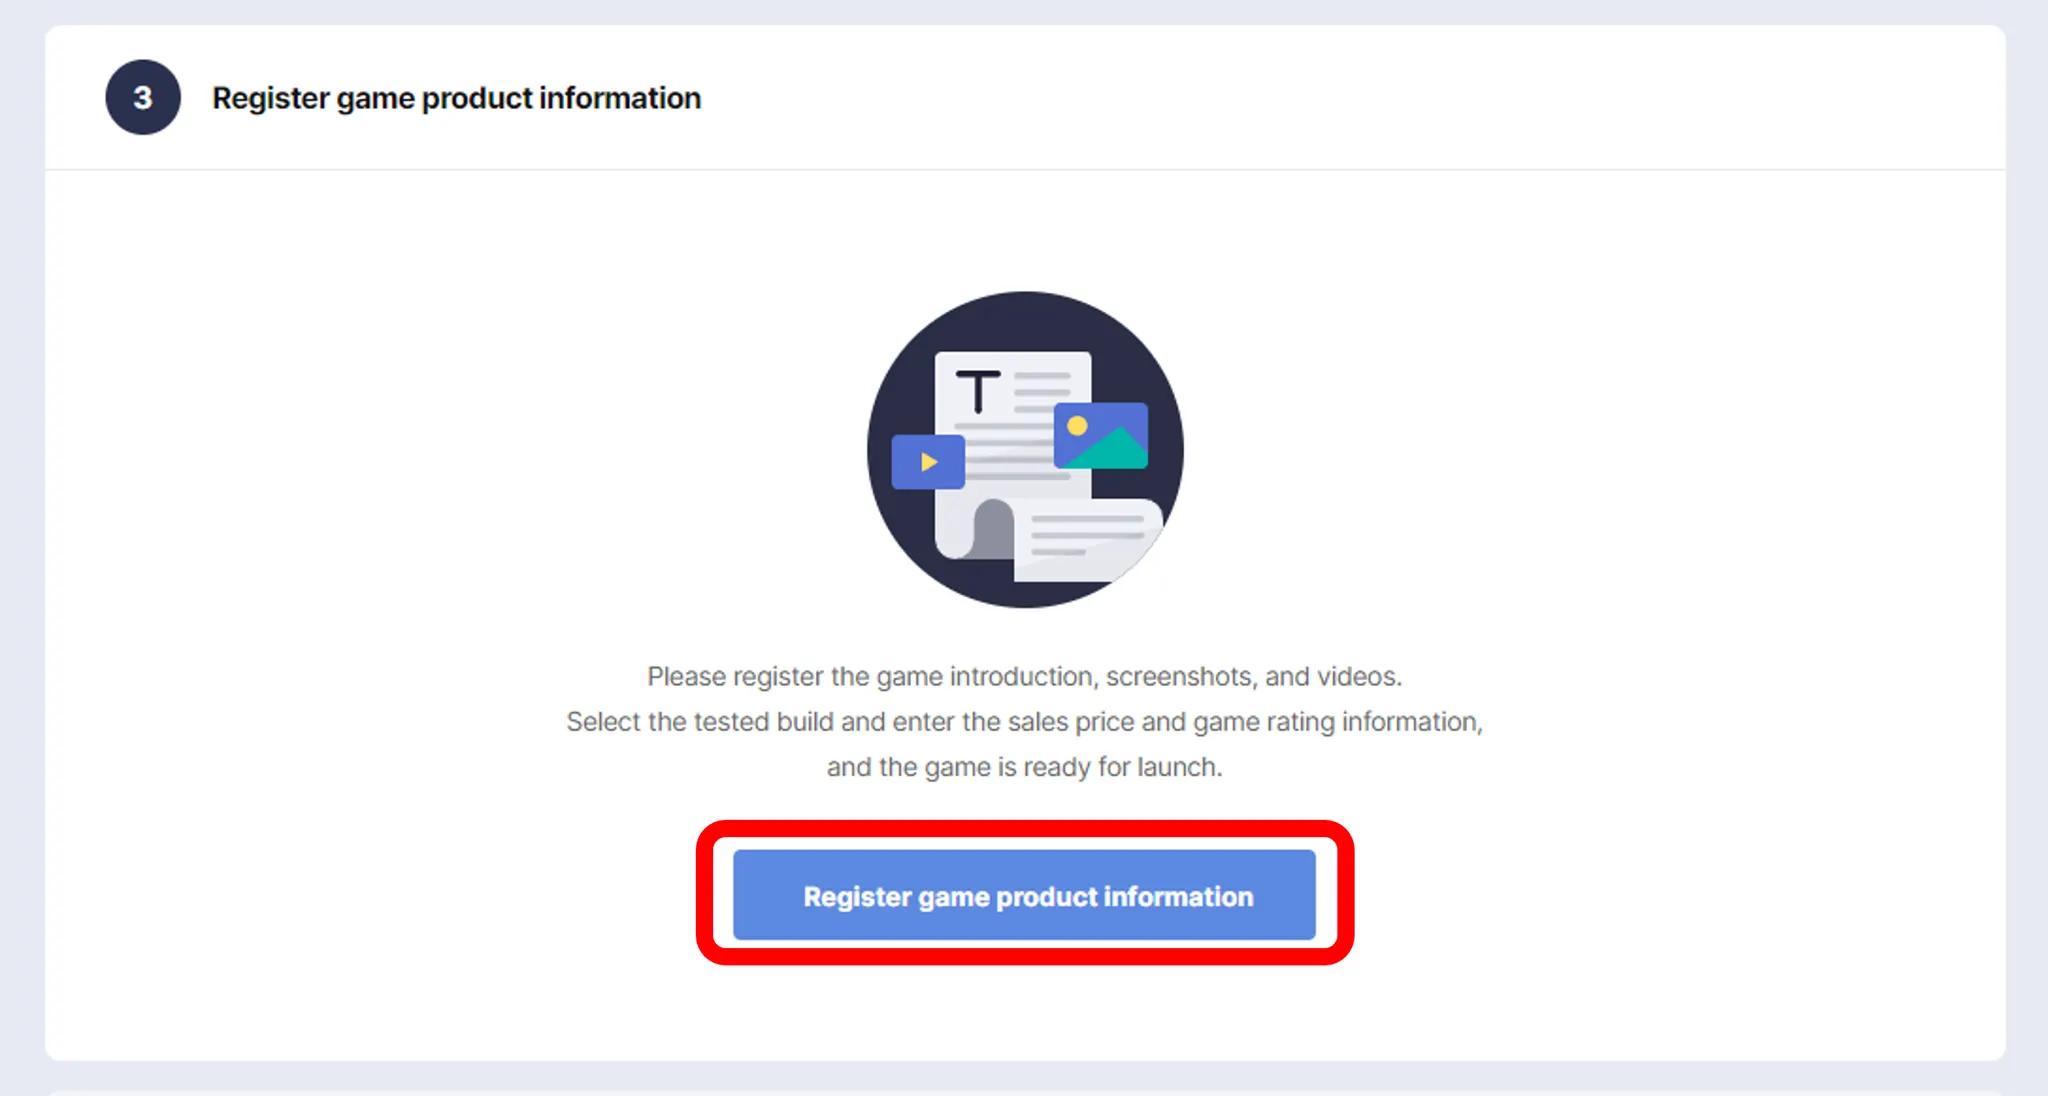
Now you can fill in Game Product Information. Click Register Game Product Information button. Please note, you do not have to complete the Store page at this stage, you can edit at any time. (Before submitting Review)
For more information about registering game product information, please take a look at  Store Page Prepartion.
When filling out game product information, DO NOT FORGET TO CLICK SAVE.
By clicking Close, you can return to this screen, and proceed to REVIEW.
4. Submit Review
If all the required information is ready, you can submit review.
All the games released through STOVE Store need to go through revision from STOVE Team.
STOVE Team can require changes in order to distribute the game or to open Store page on STOVE Store.
Note: Review Request does not have to be done at this stage, and this can be done later.

