Every game on STOVE Store is registered through STOVE Studio, and using STOVE Studio requires STOVE account.
This section explains how you can access to STOVE Studio, and how to create account on STOVE.
1. Where is STOVE Studio?
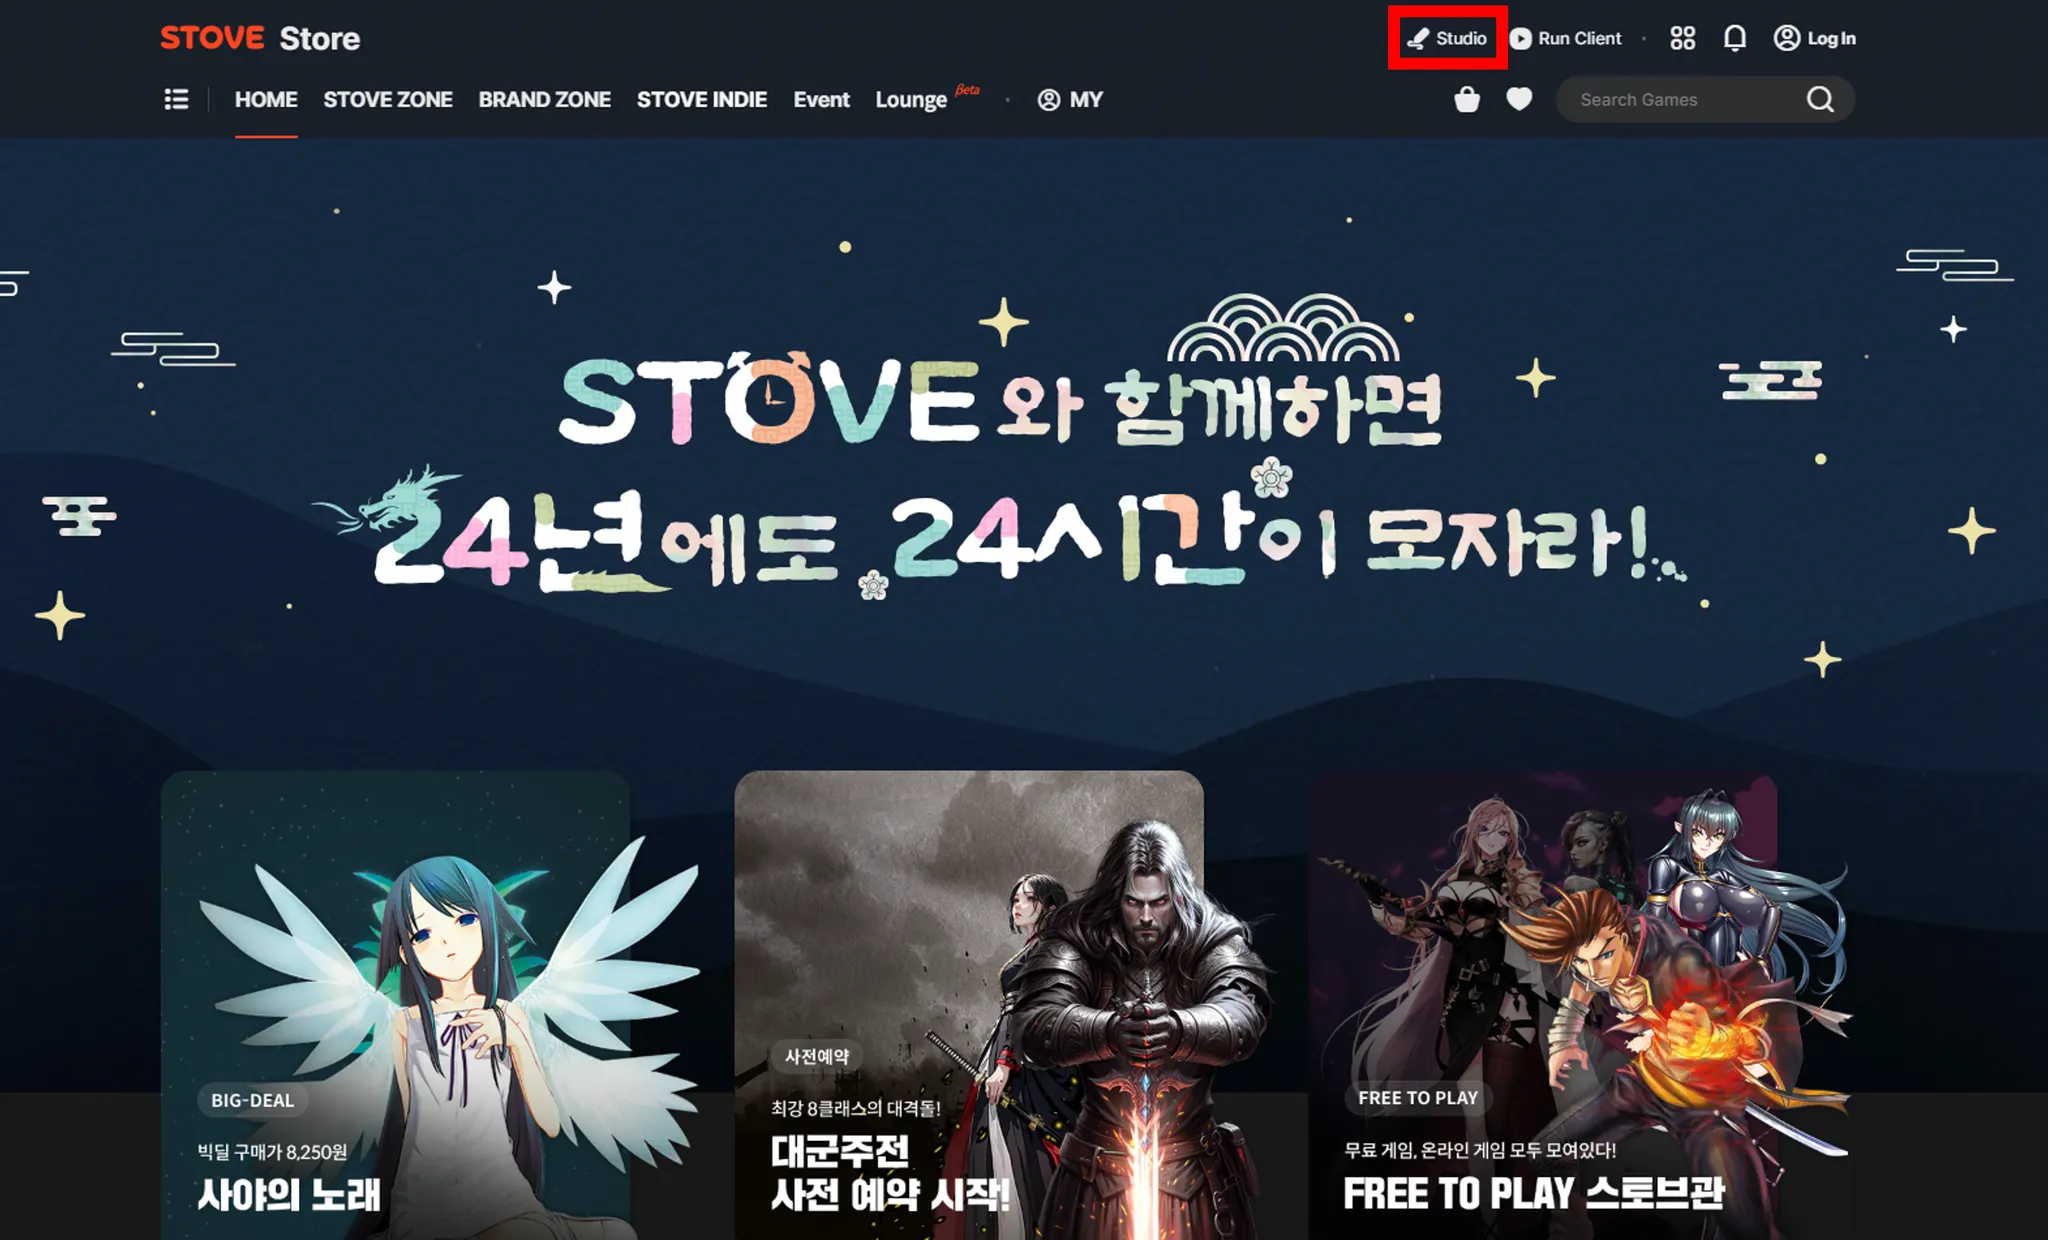
Or, you can access by clicking the Studio button on the top right hand corner in STOVE Store.
(See the red box below)
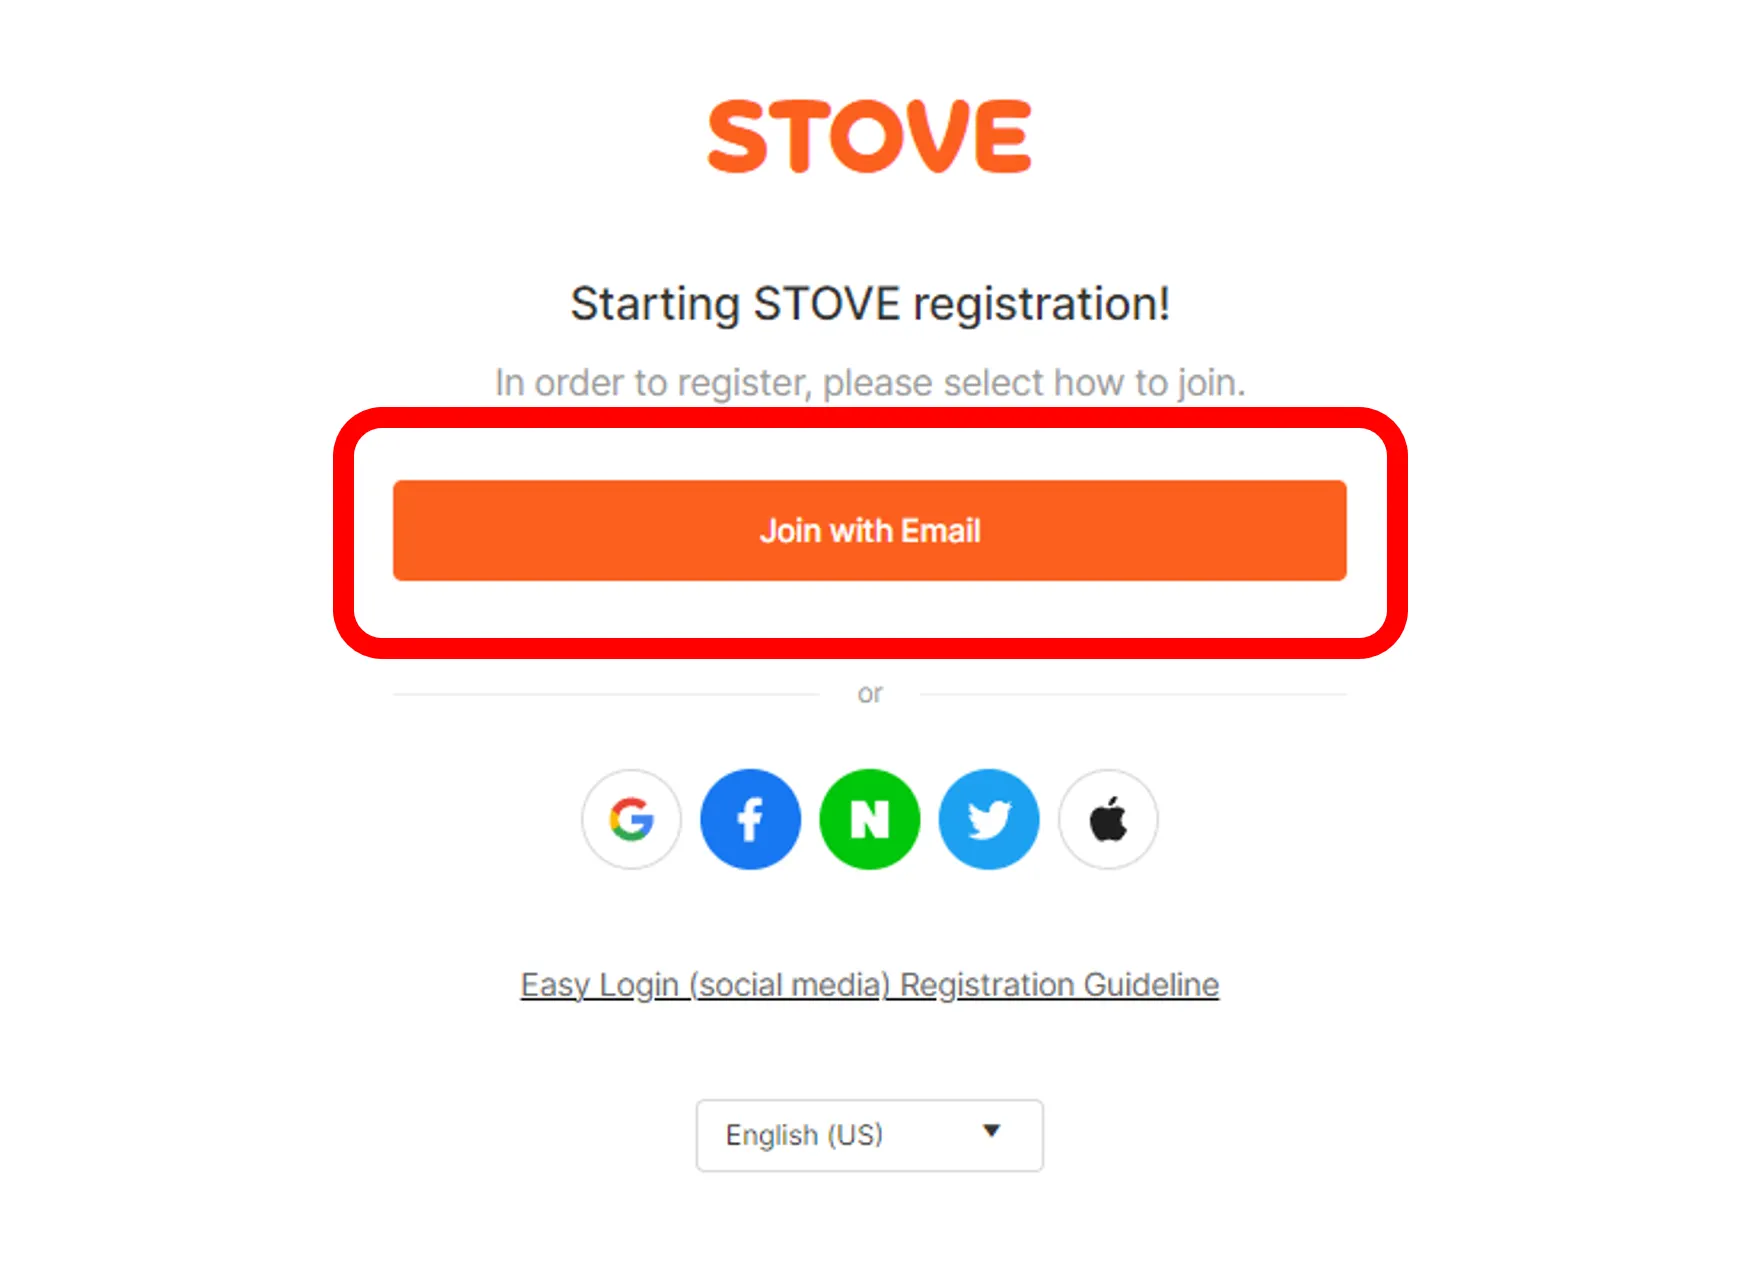
2. How can I register to STOVE?
(If you already have STOVE account, you can pass this stage, and go to 3. Login to STOVE)
Note: We highly advise you to Join with Email (see below)
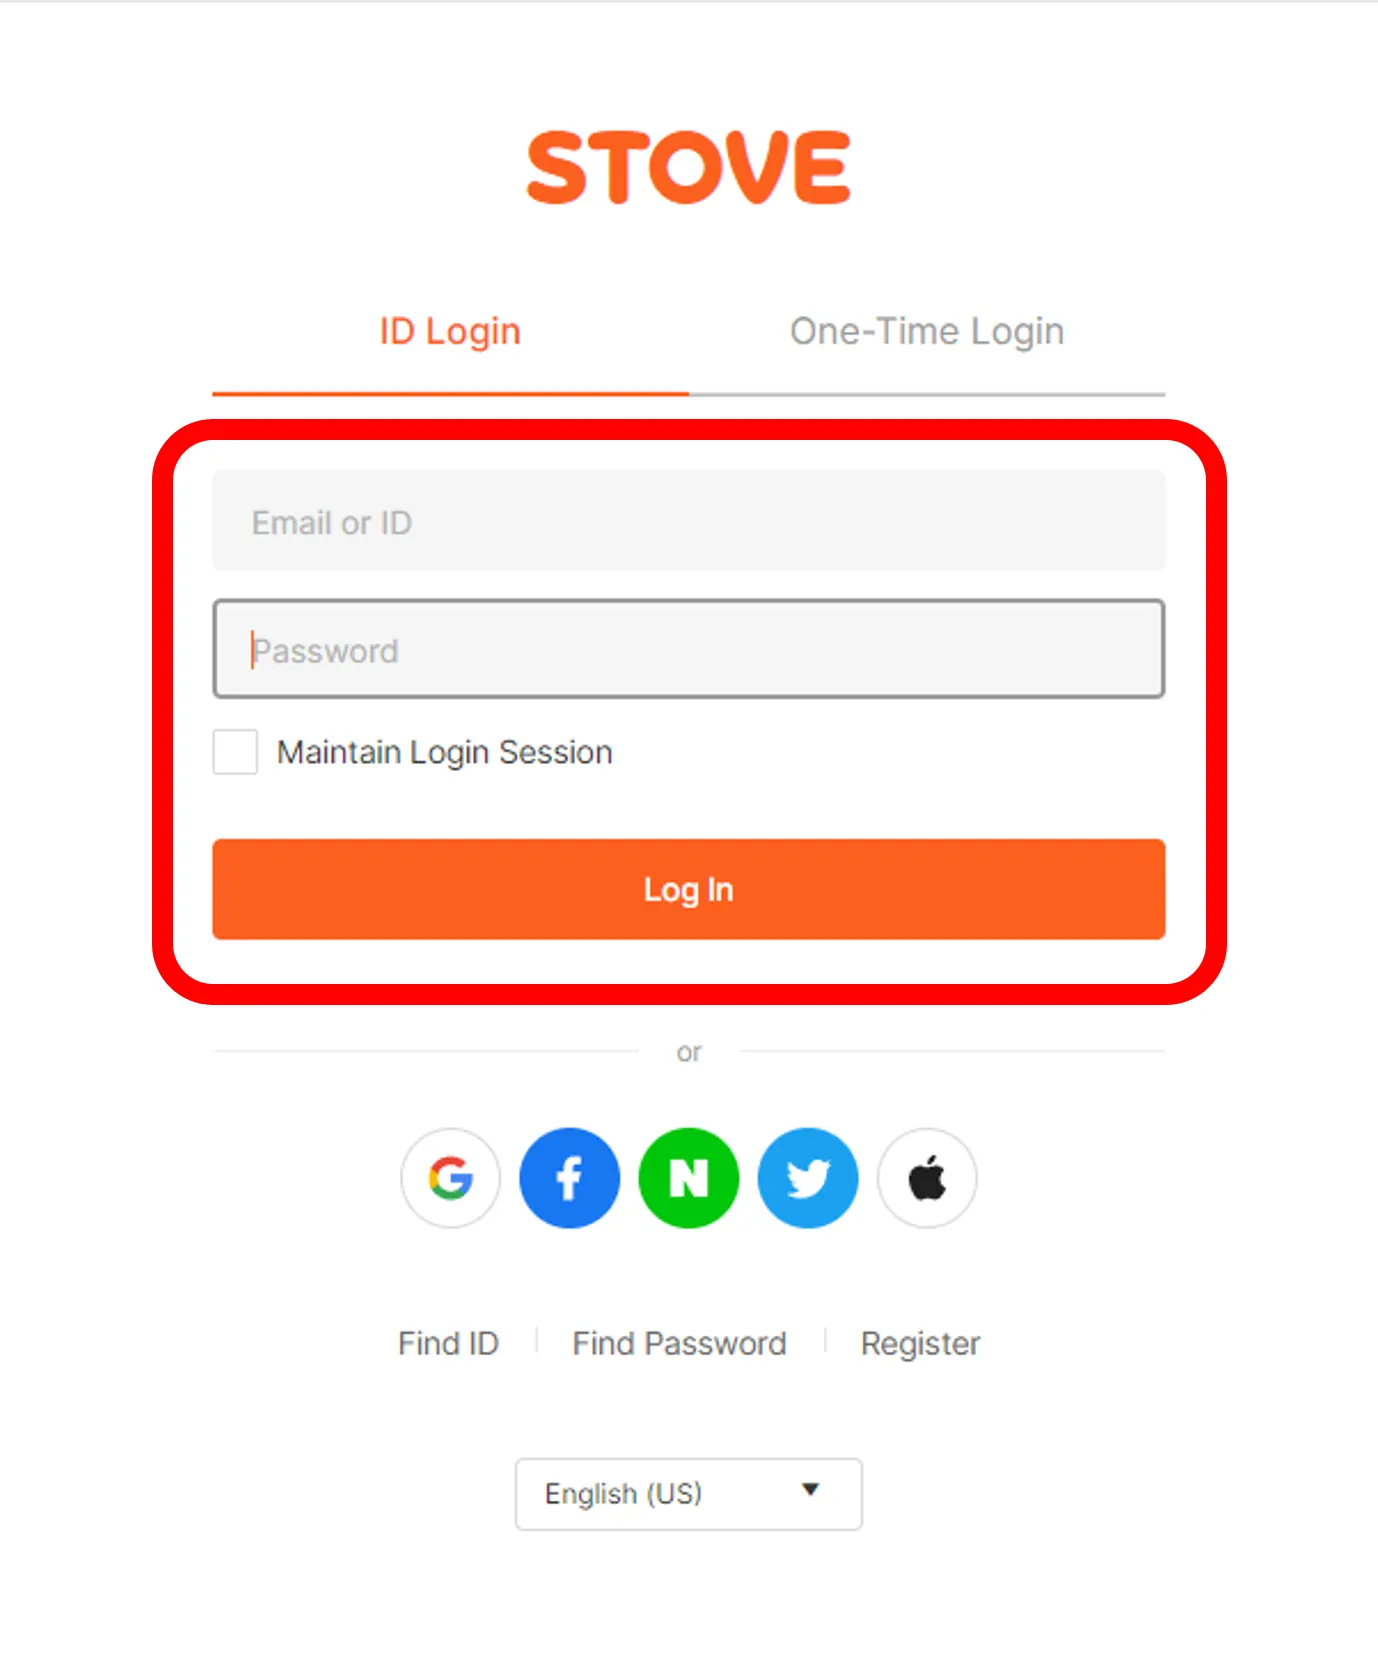
3. Login to STOVE
You can login to STOVE through following link: https://accounts.onstove.com/auth/login
4. Joining Studio
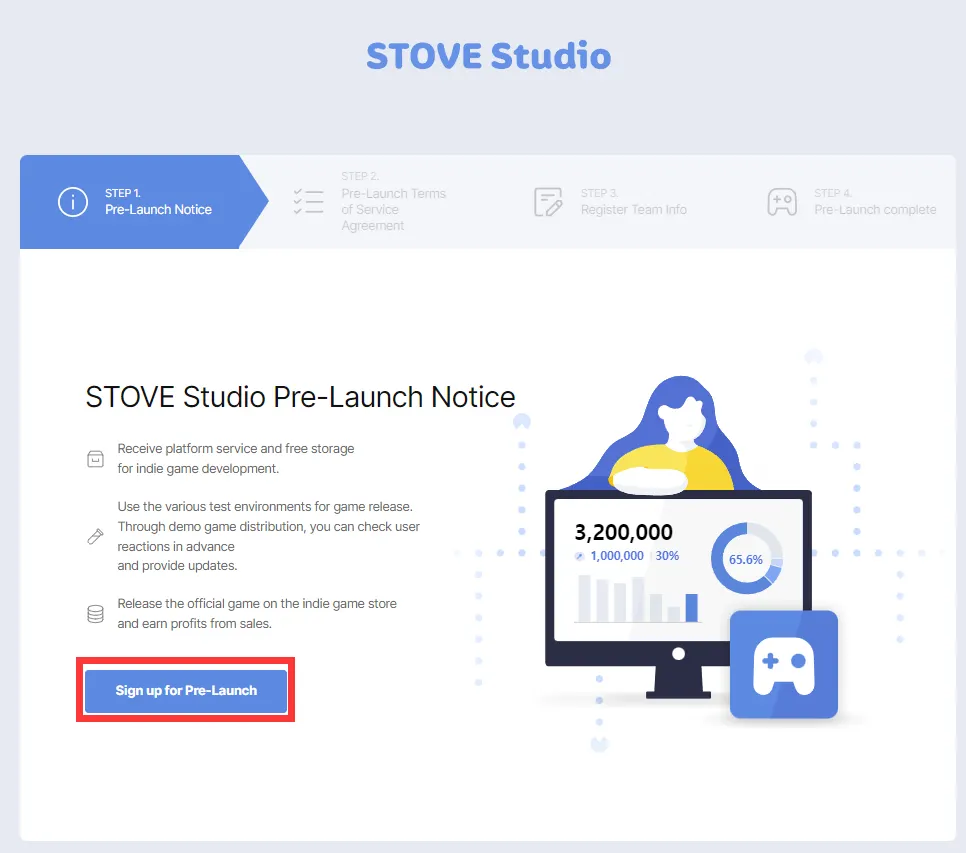
4.1. Go back to STOVE Studio, click Starting Studio.
4.2 Click Sign up for Pre-Launch
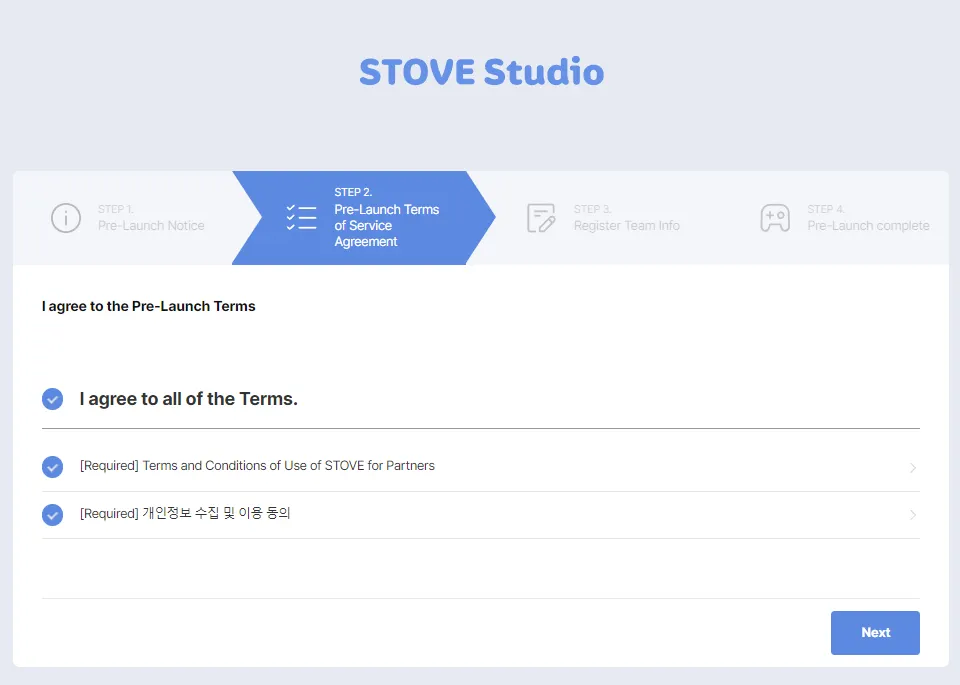
4.3 Please agree to Terms and Conditions, and then click Next.
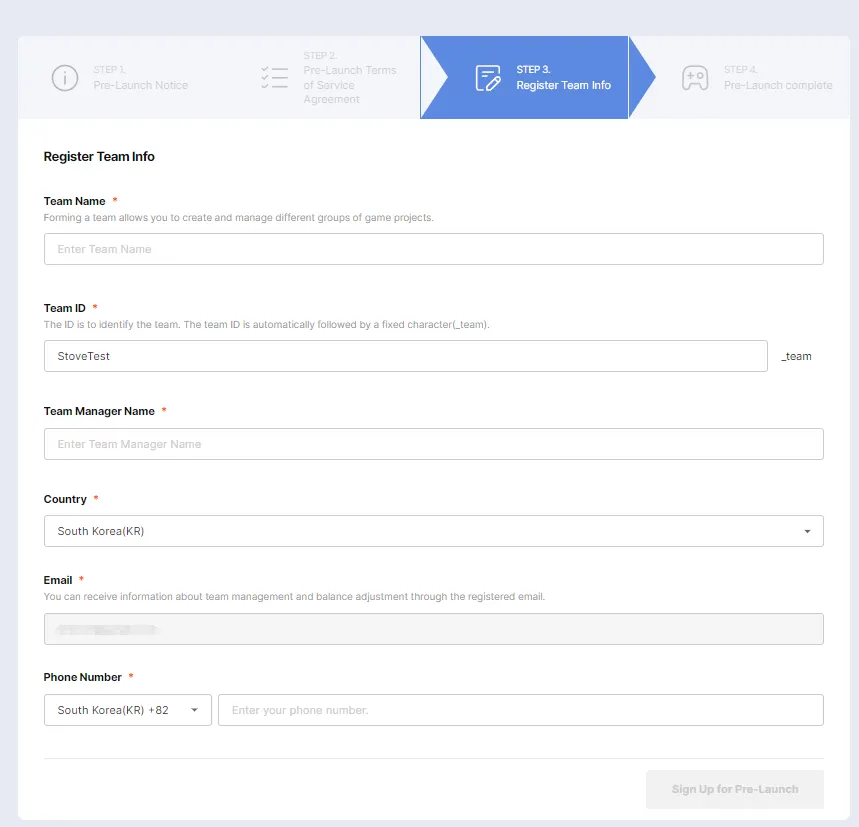
4.4 Register your team information.
*Team Name | Enter the team’s name for STOVE Studio. (English or Korean Only)
- We recommend entering your developer or publisher name, and you cannot use special characters except for hyphens (-), underscores (_), and periods (.). |
*Team ID | Enter the Team’s ID
- We recommend entering something similar to your team name or a favorite nickname.
- Once completed, the team ID cannot be changed, so please enter it carefully.
- Only English is allowed, and for special characters, hyphens (-), underscores (_), and periods (.) are allowed. |
*Team Manager Name | We recommend entering the person in charge of managin STOVE Studio.
- Special characters and numbers are not allowed, only Korean and English.
- The email will be automatically registered as a registered email (to receive settlement and inspection news). |
Enter your country and phone number and click the ‘Sign Up for Pre-Launch’
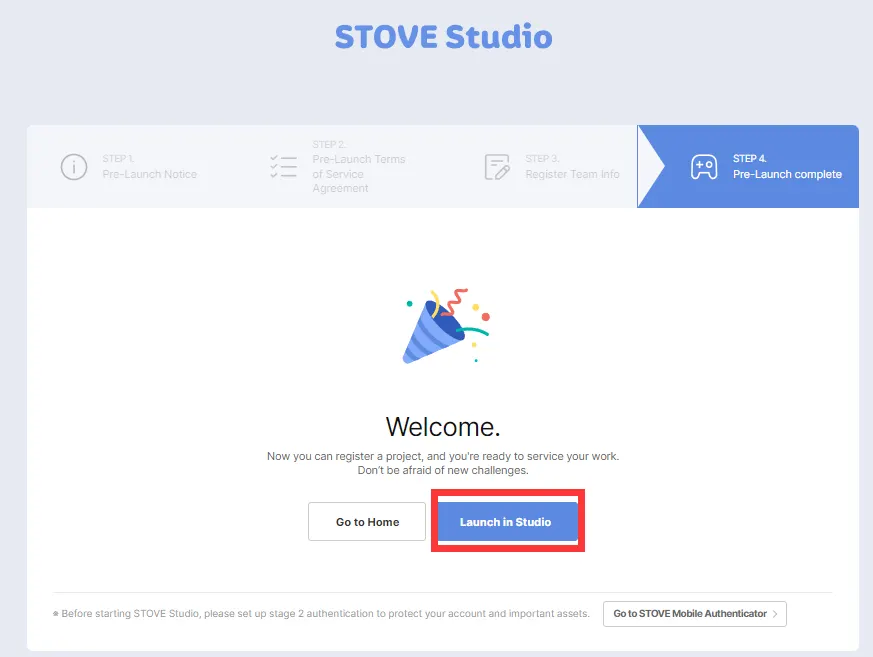
4.5 Your entry is complete with the information you entered. Click Launch in Studio.
If you have completed until here, you have now completed the first step to launch your game in STOVE Store. The next step is - Project Creation, and guide to Project Creation can be found at  Project Creation !

